SETTING UP DATE-TIME FIELDS
On your Form Editor, head to Build tab.
Click "Add a Field" button then select date-time.
From there, you can now add a label and a hint.
Now you can click the "Show" dropdown menu and then select the option that you want to appear on your field: Date, Time, Year, Month & Year, etc.
You can specify the defualt value to be set to blank or the current date and time.
Specify the minimum and the maximum year the user can select.
If you selected the show time, you can specify the minimum and maximum hour that will show. Furthermore, if you selected the 12-hour clock convention then you can only go up to hour 12, but if you selected the 24-hour clock convention then you can reach up to hour 23.
Once done, you may tick the "Require an answer" checkbox if you don't want your field to be left blank.
Personalize your date-time field further by adjusting the width of your field. You may also add Additional CSS class/es for a more advance customization.
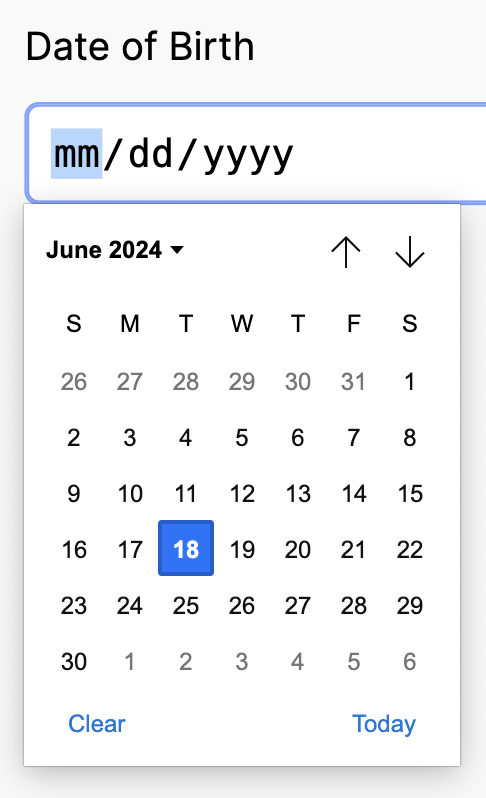
Here is an example of what your date-time field may look like:

Once you click the calendar button on the right this will show: