
SETTING UP CHECKBOX FIELDS
On your Form Editor, head to Build tab.
Click "Add a Field" button then select checkbox.
From there, you can now add a label and a hint.
You have an option to create a sub label for organizing your choices by clicking the "Add Heading" button.
There are two ways to add a choice on your checkbox field, either you create a seperate choice one by one by clicking the "Add Choice" button or you can create several choices in one go by clicking the "Bulk Add Choices" button.
Once done, you may tick the "Shuffle order of choices" checkbox for randomization. Additionally, if you don't want your field to be left blank just tick the "Require an answer" checkbox.
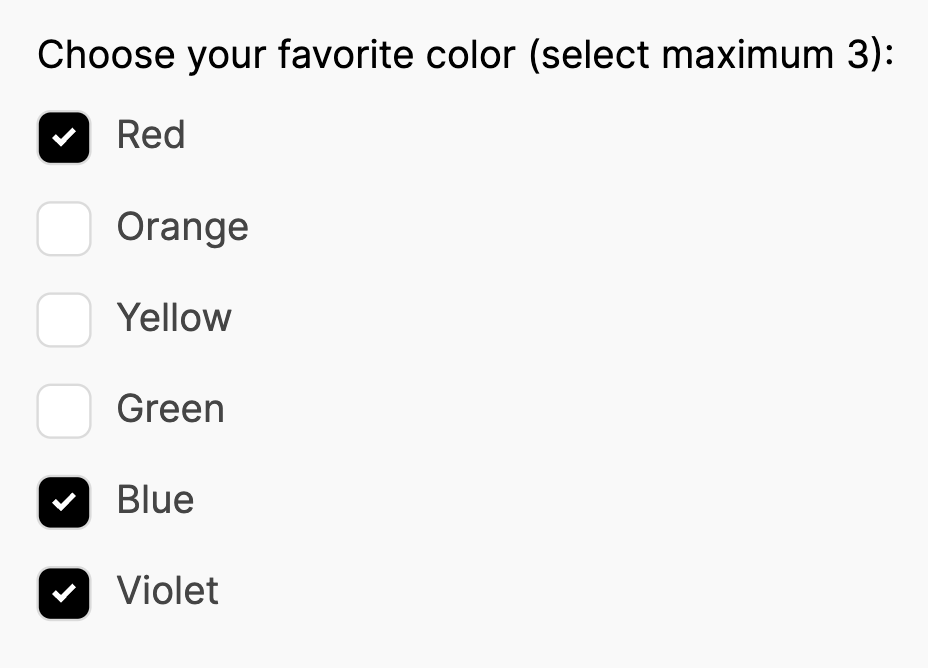
Since you are using a checkbox field, you can set the minimum and maximum number of choices that can be made by ticking the "Limit choices" checkbox.
Personalize your checkbox field further by adjusting the alignment of the choices and the width of your field. You may also add Additional CSS class/es for a more advance customization.
Here is an example of what your checkbox field may look like:
Note: Checkbox fields can be used for multiple choices type of question.